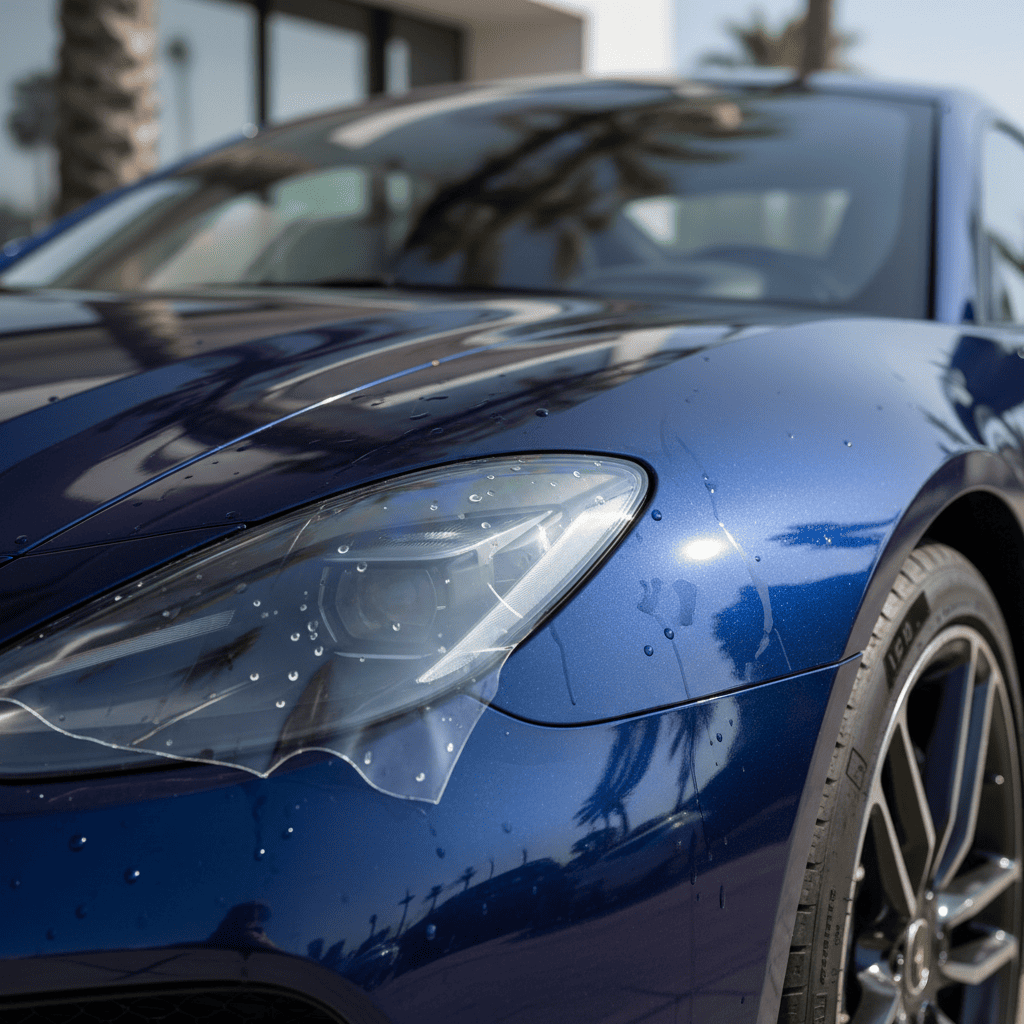
You paid for paint protection film, but now you see a wavy texture and dirty, lifting edges. The film is far from invisible, and it’s making your car look worse, not better.
To find an "invisible" PPF, you must choose a high-quality, optically clear film1 to avoid orange peel2. Then, you need a certified professional3 who meticulously prepares the surface and heat-seals the edges4 to prevent lifting. A thorough final inspection5 is essential.
As a manufacturer, we put enormous effort into engineering films that are as close to invisible as possible. We focus on optical clarity and the smoothness of the top coat. But I’ve learned over the years that the best film in the world is only half of the solution. The final result you see on your car is a partnership between our manufacturing quality and the installer’s skill. The two biggest giveaways of a subpar job are that wavy "orange peel2" texture and the dreaded lifting edges. Let’s break down how to conquer both so your film is truly undetectable.
How Do You Eliminate That Wavy "Orange Peel" Texture?
Your car’s paint was a perfect mirror, but after PPF, you see a slight orange peel2 texture. It distorts reflections and makes the finish look less crisp, which is the opposite of what you wanted.
You eliminate orange peel2 by selecting a premium, high-clarity film from a reputable manufacturer. These films have a smoother top coat. Always ask the installer for a demo patch6 on your car to see the clarity for yourself before they begin.
[^2] texture versus a high-quality, optically clear PPF](https://shiyeppf.com/wp-content/uploads/2025/11/download_2-4.png)
In our labs, one of our key performance indicators is the smoothness of our top coat. Lower-quality films often have a noticeable texture right out of the box. This texture gets even worse if an installer overstretches the film to fit a complex curve. We use advanced materials with a low-memory core. This means our film is more stable and lays flat on surfaces without needing to be aggressively pulled, which preserves its inherent smoothness. A simple way you can check this is to ask for a test piece. A good installer will have no problem applying a small, 6×6 inch patch to your hood or fender. Let it dry, take it out in the sun, and look at the reflections. Does the film add texture? Is it perfectly clear? This simple test tells you everything you need to know about the film’s quality before you commit to wrapping your entire car.
Choosing a Film to Avoid Orange Peel
| Feature | What to Look For | Why It Matters |
|---|---|---|
| Optical Clarity | Ask for a film advertised as "high-clarity" or "low orange peel2." | These films have a smoother top coat from the factory. |
| Manufacturer Quality | Choose established brands known for their materials. | Higher-end materials stretch more evenly and lay flatter. |
| Demo Patch | Request a small sample installed on your car. | This is the only way to see exactly how the film looks on your paint. |
What’s the Secret to Preventing Edges from Lifting and Collecting Dirt?
Your new PPF looked perfect for a week. Now, you see the edges peeling up around the wheel wells and doors, creating ugly grey lines as dirt gets trapped underneath. You’re worried the whole panel will fail.
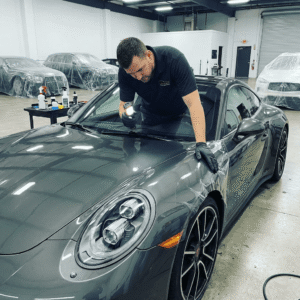
The secret is a flawless installation. The installer must obsessively clean the surface, use correct trimming techniques without tension, and post-heat all edges with a heat gun to lock them down and activate the adhesive’s full bond.
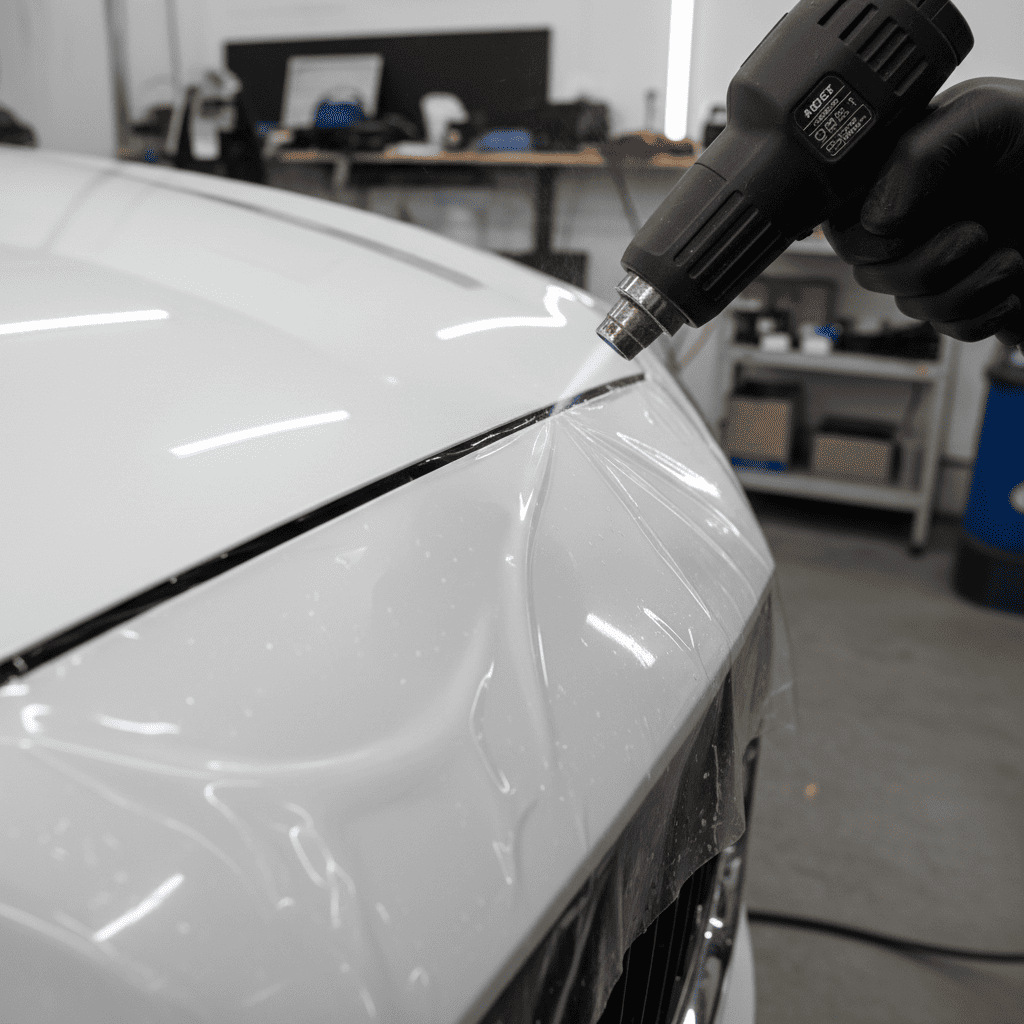
I can tell you that our adhesives are incredibly strong. When an edge lifts, it is almost always a failure of technique, not the product. I saw a perfect example of this recently. An installer was in a rush and didn’t do a final wipe-down of the edges with an alcohol solution. The tiny amount of wax residue left on the paint was enough to prevent a permanent bond, and the edges started lifting within a month. A true professional is meticulous. They will clean every edge immediately before laying the film. They also know not to stretch the film to the edge, as the film’s natural "memory" will cause it to pull back and lift. Instead, they relax the film at the edge before the final squeegee. Finally, they "set" the edge with heat. This final step is critical. It kills the film’s memory and supercharges the adhesive bond7, ensuring that edge stays down for years.
How Can You Properly Inspect a New PPF Job to Ensure It’s Perfect?
The installer has called you to pick up your car. It looks good at first glance, but you’re not a professional. You need to know what to look for to ensure you received a quality job8.
To inspect your PPF, examine the car under bright, direct light. Check all edges for lifting or sticky glue residue. Scan large panels from different angles to spot any trapped air bubbles9, debris, or stretch marks10.
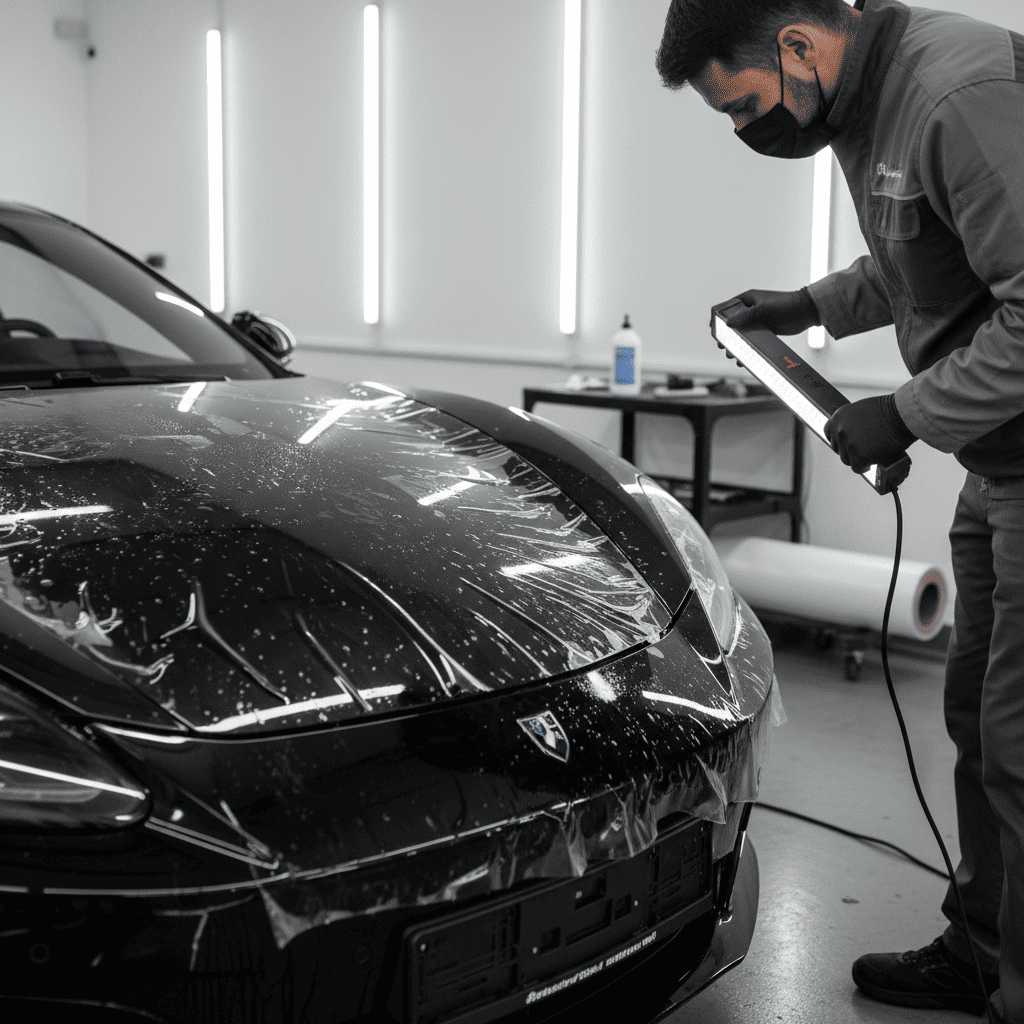
After you’ve invested in a quality film and installer, the final inspection5 is your chance to ensure everything is perfect. Don’t be afraid to be thorough. First, use your phone’s flashlight and run it along every single edge of the film. Pay close attention to complex areas like badges, door handles, and wheel wells. The edge should be perfectly smooth and sealed down. Run your finger along it; it shouldn’t feel sticky or peel up. Second, stand back and look at large panels like the hood and doors from different angles. Look for any specks of dust or hair trapped under the film. Also, check for any hazy or cloudy areas, which could be stretch marks10 from the installation. A few tiny bubbles of installation solution11 are normal and will evaporate in a few days, but hard air bubbles or debris are permanent flaws. A professional installer will welcome this level of inspection because they are proud of their work.
Your Post-Installation Checklist
- Edges: Are all edges perfectly flat and sealed? No lifting?
- Glue Residue: Are the edges clean or are they sticky with excess glue?
- Debris: Are there any specks of dust, hair, or dirt trapped under the film?
- Bubbles: Are there any hard air bubbles (flaw) or just small water pockets (normal, will dry)?
- Clarity: Does the film look clear, or are there hazy stretch marks10?
Conclusion
Finding an "invisible" PPF comes down to a partnership: choosing a premium, clear film to prevent orange peel2 and hiring a skilled installer who masters edge work to prevent lifting.
-
Find out how optically clear films can enhance your vehicle’s aesthetics while providing superior protection. ↩
-
Understand the factors that lead to orange peel texture and how to avoid them for a perfect finish. ↩ ↩ ↩ ↩ ↩ ↩
-
Discover tips for selecting a certified installer who can ensure a high-quality application of PPF. ↩
-
Explore the significance of heat sealing edges to prevent lifting and ensure a durable bond. ↩
-
Get a comprehensive checklist for inspecting your PPF installation to ensure quality and durability. ↩ ↩
-
Find out how a demo patch can help you assess the film’s clarity and quality before full installation. ↩
-
Understand the role of adhesive bonds in ensuring the longevity and effectiveness of PPF. ↩
-
Get insights on what constitutes a quality PPF installation and how to verify it. ↩
-
Learn effective methods to detect and resolve trapped air bubbles for a flawless PPF finish. ↩
-
Explore the reasons behind stretch marks and how to avoid them for a smooth finish. ↩ ↩ ↩
-
Discover the purpose of installation solutions and how they impact the final appearance of PPF. ↩